เรื่อง : CSS Layout ด้วย Dreamweaver ตอนที่ 1
CSS Layout ปัจจุบันได้รับความนิยม และได้รับความสนใจอย่างมาก จากกลุ่มผู้ออกแบบเว็บ หรือนักพัฒนาเว็บ สำหรับประโยชน์ หรือว่าทำไมต้องเปลี่ยนจากการเลย์เอาท์เว็บที่แต่ก่อนใช้ Table หรือตารางในการจัดหน้าเว็บ มาใช้ CSS ในปัจจุบัน ทางผมจะขออนุญาตไม่กล่าวถึงในที่นี้ เนื่องจากเคยเขียนไปแล้วในบทความที่เกี่ยวกับ CSS (อ่านได้ที่นี่) ในบทความนี้จะกล่าวถึง การใช้งาน Dreamweaver ตัวเก่งของเราในการเลย์เอาท์ การจัดวางด้วย CSS กันครับ
วิธีการเลย์เอาท์ด้วย CSS โดยใช้โปรแกรม Dreamweaver
1. ให้เราทำการกำหนดรูปแบบของเว็บเราว่าจะแบ่งออกเป็นกี่ส่วน ซึ่งโดย Basic ของเว็บแล้ว ก็จะมีการแบ่งหน้าเว็บออกมาเป็น 2 หรือ 3 ส่วน หรือเราอาจจะเรียกว่า 2 Columns or 3 Columns ก็ได้ ในตัวอย่างบทความ ผมเลือกที่จะแบ่งหน้าจอออกเป็น 2 Columns ดังรูป
2. When we have to configure the layout of us. Follow steps 1 and then we do the New File, then Save up to XHTML kept by the Save as file name csslayout.hrml.
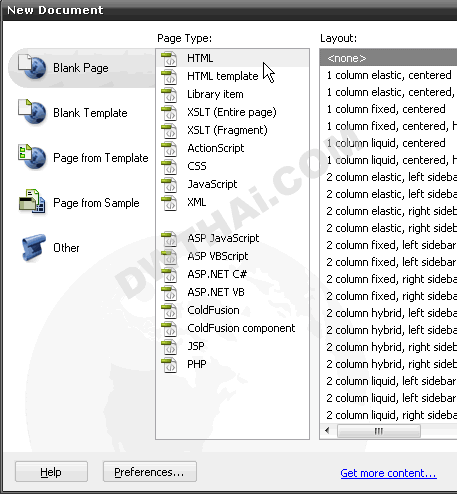
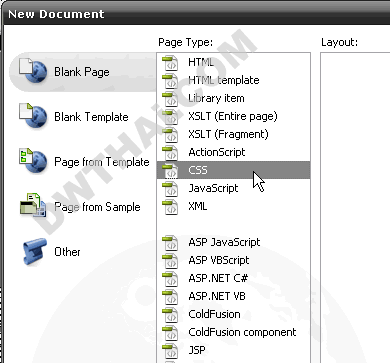
3. Create a CSS file as shown, then Save the CSS file is named mylayout.css.
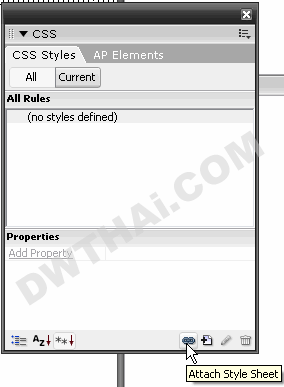
4. Then the file csslayout.hrml Link to the CSS file we created in step 3 by the CSS PANEL (Shift + F11) to select the Attach Style Sheet below.
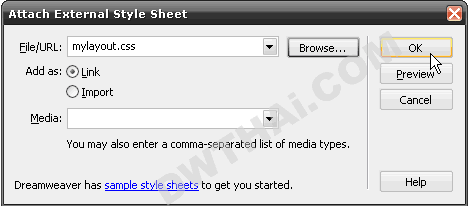
Browse .. button to select our CSS files in this file mylayout.css below and click OK.
5. Then we come back to the file. csslayout.html We opened with the Dreamweaver to structure our pages by using the Insert Div Tag
Insert Bar to select the Insert Div shown.
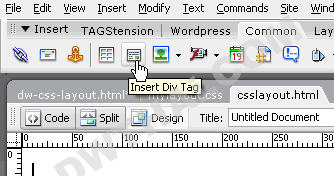
Application to open a window We print the Class name or ID as we would like.
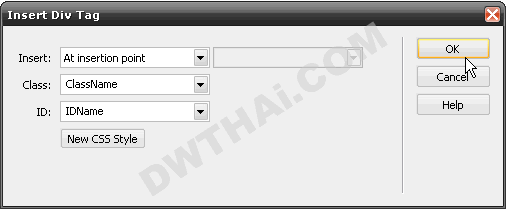
6. On the page, we are structured. By following sequence:
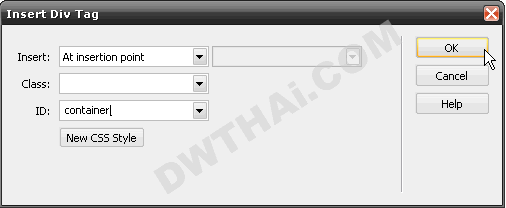
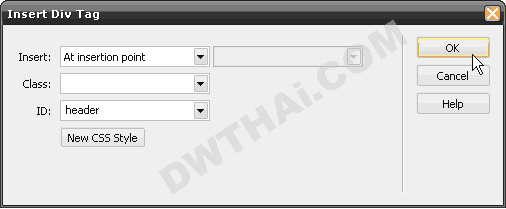
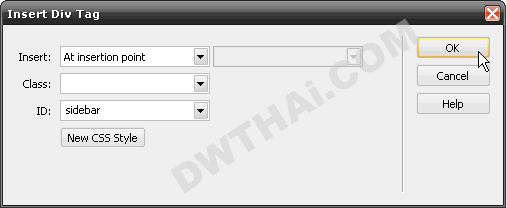
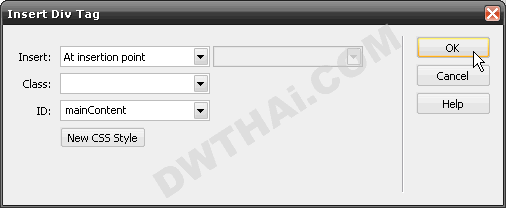
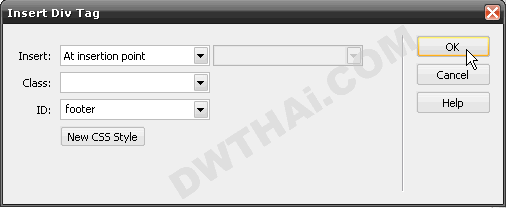
View the Code, we have the following code.

About the Author
Mr.Sittichai Raksasuk
Sittichai is a Web Developer and Web Technology Instructor for over 10 yrs.
He is also a webmaster of dwthai.com and author jQuery with Dreamweaver (2010). DwThai.Com is a website for web developer using Adobe Dreamweaver.
Contact with him : dwthai@gmail.com
บทความอื่นที่คุณอาจสนใจ


